My sister and I got my Mum Nigella's latest book for Christmas. If I'm being entirely honest, I think we've used it more than she has so far! I just love what Nigella does... everything she makes looks incredible and this was one I couldn't flip past.
It was surprisingly easy to make. I must admit, I did get a little freaked out by the photos and Nigella's comment that it didn't matter if you couldn't slice it perfectly in three - it would taste just as good if it was falling apart - I can't work like that!
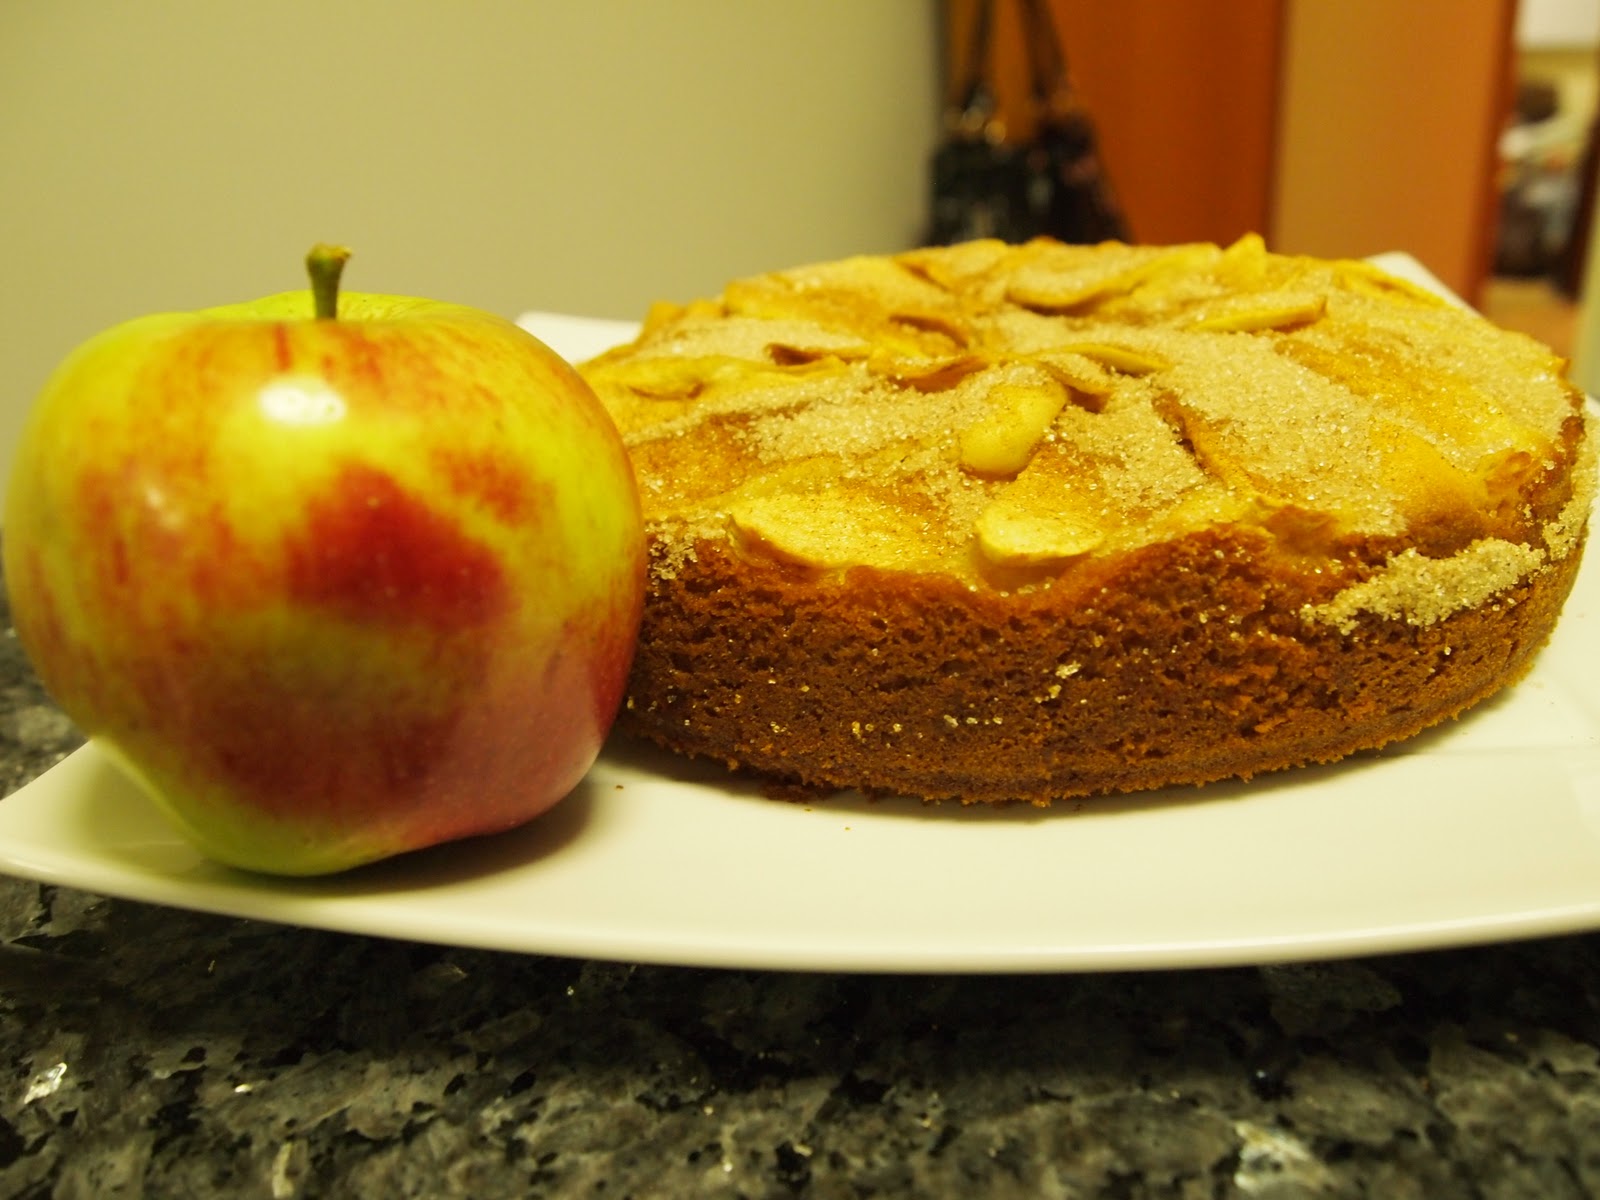
The cake was absolutely delicious! It disappeared very quickly and was just the cake I needed... I happened to be going through a fairly difficult time when I made it. The only thing I would do differently next time is to use plain thickened cream (still beaten though of course) on the top instead of double cream. I found that after it had been in the fridge for a little while the double cream went a bit hard and wasn't that pleasant to eat - a shame on day two when the rest of the cake tastes even better with the strawberry flavour having gone right through!
I'm going back to put this one up - these are just photos I took on my phone because I was so impressed with the end result - but in the future I'll be sure to take photos of the steps as well.
The finished product!
THE RECIPE
1/ The custard
(You can do this in advance, even the day before. It needs to be completely cold before you use it).
Throw into a medium pot
2 egg yolks, 2 tbsp caster sugar, 2 tsp cornflour and 1 cup of full-fat milk. Stir non-stop until it starts to thicken but don't let it boil. Once the mixture has thickened (it will take between 3-5 minutes) take it off the heat and add
1 tsp vanilla essence. Transfer the custard to a cold bowl and keep stirring until it cools a little more. Cut and wet a piece of baking paper and sit on top of the custard, cover with cling film and pop in the fridge :)
2/ The cake
Preheat the oven to 180c and prepare your tin (a springform tin, just line the bottom and grease the sides). In an electric mixer, whisk
3 eggs and 250g caster sugar until 'pale, moussy and more than doubled in volume' (I found it took about 10 minutes). Turn the mixer down and gently add
90ml of hot water. Slowly whisk in
1 1/2 tsps baking powder and 150g plain flour - you might need to stop the mixer a couple of times to scrape down the sides and there shouldn't be any lumps in the mixture. Pour it all into the tin and pop it into the oven for about
30 minutes (you'll know when it's done!) Take it out of the oven, leave it to cool in the tin for 5-10 minutes and then carefully take the outside of the tin off. Then let it rest and cool before moving onto the next (and most fun part!) - the assembly.
3/ The assembly
You want
750g of strawberries (a little pricey but SO worth it!). Set aside 250g of these. With the rest, hull them and chop them up - some in halves, some in quarters depending on how big they are. Put them in a bowl and sprinkle with a little
caster sugar. They'll need a little time to get juicy and glossy before you put them in the cake - an hour is perfect. Take
500ml double cream and whisk it until it holds its shape. Fold
1/3 of the cream into the custard that you made earlier and set the rest aside. Grab a serrated knife and carefully cut the cake into three (not as hard as it sounds - I promise!) and put the bottom layer onto your serving plate. Top this with half of the custard cream and half of the sugared strawberries. Repeat with the next layer of cake, remaining custard cream and remaining sugared strawberries. Pop the last layer of cake on top, cover with the double cream and put the whole strawberries on the top - you can hull some of them and keep some whole (doesn't sound overly practical to leave the green on but it looks so pretty!)
Tah dah! Looks pretty impressive and tastes even better!
Inside of the cake - yum!